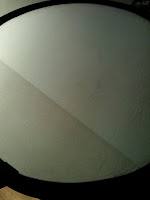
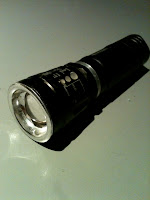
 For the inside of the house we wanted the lighting to be very low-key to help show to the audience that the family was no longer living there. To achieve this we used a small white light torch, as we wanted the lighting to look cold and grey as opposed to the warm lighting from the street lamps outside, and a light diffuser to prevent the torch from creating a spotlight. However, after our first edit we found some of the shots we took were too dark, and when we went back to re-film these shots we found we could brighten the torch, which worked to our benefit as it improved the quality of the camera shot and the clarity of the picture, making the opening sequence better as a whole.
Cold/Grey Lighting
Warm Lighting
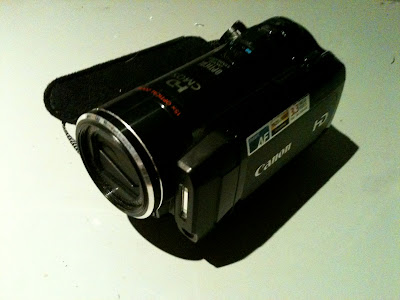
To film our media product we used a Canon HD video camera, and although this struggled in low light it obtained an overall good quality picture. With this camera we were able to manually focus as well as change the lighting if necessary to adjust to the darkness or to make the lighting warmer, as well as change the exposure of the camera and record a clear sound by increasing the microphone, which was located at the front of the camera. We placed our camera on a Tripod in order to make sure our shots were steady and to achieve smooth pans and tilts, although we found when doing over the shoulder shots this was difficult due to the limited height of the Tripod and so we had to result in doing handheld over the shoulder shots instead, although we managed to keep the camera fairly steady and so this did not make much difference.
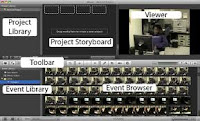
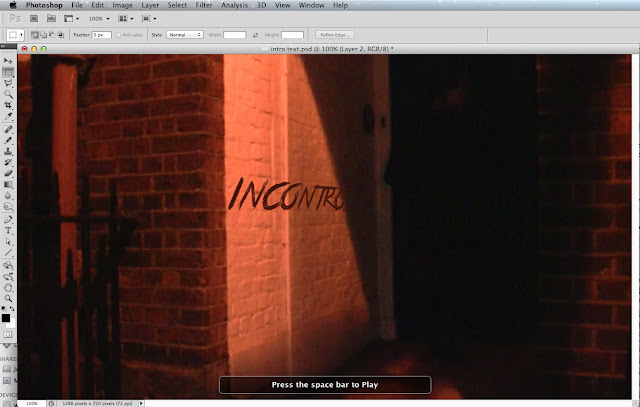
To edit our opening sequence we used both iMovie and After Effects, as whilst we found iMovie was good for the simple editing cuts and to add sound and credits, After Effects was needed for more complex editing, such as having the title 'Incontro' appear on the wall as the character walks past. For this we first used Adobe Photoshop to create the text of the title on a still frame of the desired shot, taken with Grab and taking the still frame from iMovie, using the font 'True Lies' from dafont.com and chose the colour, before copying this frame into After Effects. In photoshop we had to get the text at the right angle so it looked like it was on the wall, which we were able to do by using the Text tool. To obtain the colour we wanted we used the Eyedropper tool, which allowed us to match the colour of the text to the colour of the bricks by clicking on the bricks and then the swatch at the bottom of the toolbar, which meant that the colour fitted with the scheme in the rest of the frame. After this we hid the still frame we had taken from the movie so we could save the text online without any background as a png.
We then imported the movie file of our opening sequence we edited in iMovie to Adobe After Effects before importing the .png file of the text and then layering this overing the top of the movie file on the correct frame where we wanted it to appear. We then created a Travelling Mask, which we could move flexibly using points of the Mask to match the shape of the actress at each frame as, meaning the text would appear as she walked past.
iMac we used
 http://freesound.org/
For our sound, as well as using the microphone on the camera to record the actual events as they were being filmed and the voiceover we also used sound effects from a royalty free sound effects website called freesound.org. From this we were able to get sound that would be non-diegetic in our opening sequence, such as the violin effects, as well as sounds that the camera may have not picked up, such as the knock on the door, or the woman breathing.
Kira Welland




No comments:
Post a Comment